Stick, Grip, or Click: Mount Smart Devices Without Holes

Today we dive into damage-free mounting methods for smart devices—Command Strips, suction cups, and magnetic plates—so you can place displays, speakers, sensors, and tablets without drills, holes, or regrets. Discover which surfaces work, how to prep correctly, and how to keep everything secure, clean, renter-friendly, and easy to remove when you upgrade or rearrange your space or change your mind.

Painted Walls and Command Strips

Command-style adhesives love smooth, well-cured paint. Clean with isopropyl alcohol, not household cleaners that leave residue. Press firmly for the recommended time, align pull-tabs downward for easy removal, and respect weight limits—especially for tablets. If paint is newly applied, wait the full curing window. The difference between a perfect hold and a peeled patch is usually patience and prep.

Glass, Tile, and the Magic of Suction

Suction cups thrive on nonporous surfaces like glass, glossy tile, and certain metals. Clean both surfaces thoroughly, add a faint mist of water if recommended, and lock the cup to create stable vacuum pressure. Avoid grout lines and orange-peel textures. In steamy bathrooms or kitchens, check regularly and re-seat as needed. A quick monthly test tug beats a shattered screen every time.

Metal, Cases, and the Pull of Magnets

Magnetic plates require ferromagnetic contact—either a steel plate on the device or a metal surface on the wall. Place plates away from wireless charging coils to prevent interference. Thin cases improve hold, while thick or textured cases may reduce magnetic force. For heavier gear, favor mounting rails with embedded magnets and friction pads, and always keep a conservative safety margin.

Preparation Makes It Invisible and Secure

Lasting, discreet mounting is mostly about preparation. Degrease surfaces, plan cable paths, and pre-visualize angles and sightlines. Dry-fit before committing. Mark alignment with low-tack tape, then commit confidently. You will avoid lopsided screens, sagging power bricks, and tangled cords, while preserving paint, tile, and cabinetry. A few deliberate minutes now prevent hours of fix-it frustration later.

01

Clean Like a Pro

Use 70–90% isopropyl alcohol on lint-free cloths to remove oils and dust. Skip ammonia-based glass cleaners that can leave films impacting adhesion. Let everything dry thoroughly. If a wall is chalky or dusty, lightly wipe, let settle, and wipe again. Micro-prep matters most where you cannot use screws, because the bond must rely entirely on invisible contact and cleanliness.

02

Measure Twice, Press Once

Map the position with painter’s tape, aligning verticals with a level and checking eye height. Mock the device with a cardboard cutout to test reach and glare. Once happy, press adhesive for the full recommended time. For multi-strip mounts, apply even pressure across the entire surface. Waiting the advised curing window before loading weight is the quiet hero of reliability.

03

Cable Routing Without Scars

Pair mounts with removable cable clips, minimalist channels, or slim Velcro ties. Route power and data along baseboards or cabinet undersides to preserve clean lines and prevent accidental tugs. Leave relief loops near connectors to reduce stress. When you eventually relocate, remove clips slowly at a low angle, warming adhesive if needed, so walls stay pristine and cables survive.

Installing Each Method Step by Step

Command Strips That Actually Hold

Match strip size to the device’s true weight, then round up. Apply to the device mount first, press firmly, then mate to the wall and press again, respecting corner and center pressure points. Keep pull-tabs accessible. Wait the full cure time before loading. If mounting something heat-generating, give extra airflow and verify that warming will not soften the adhesive during long sessions.

Suction Cups That Survive Steamy Mornings

Wash the cup with mild soap, rinse, and air-dry to restore tack. Lightly moisten the cup or surface if the manufacturer suggests it, then apply strong, even pressure. Engage any locking lever fully. Avoid grout and bumps. In humid rooms, test before and after showers. Re-seat monthly to refresh the seal and keep your smart speaker or clock from drifting downward unnoticed.

Magnetic Plates That Feel Like Magic

Place the metal plate between phone and case, or adhere it to a tablet mount where it will not overlap charging coils or buttons. Test alignment by gently shaking before committing to the final location. For heavier devices, combine magnets with soft rubber pads for friction. Remember that magnetic force drops sharply with distance; thinner cases often yield far more satisfying snap-in security.

Safety, Testing, and Long-Term Care

{{SECTION_SUBTITLE}}

The 24-Hour Patience Rule

Most adhesives need time to reach full strength. After pressing, leave the mount untouched for the recommended hours, ideally a full day. Start with a partial load test before adding the device. If it creaks, peels, or shifts, remove, clean again, and retry. Patience may feel boring, yet it is the quiet superpower that keeps your tablet safely floating tomorrow.

Humidity, Heat, and Seasonal Shifts

Bathrooms, sunny windows, and kitchens challenge every mount. Heat can soften adhesives, humidity can weaken suction, and cold can make plastics brittle. In cars and RVs, summer dashboards become ovens. Choose method and materials accordingly, use conservative weight margins, and consider light safety tethers for expensive gear. Monitoring once a month transforms small warnings into painless, reversible course corrections.

Design, Aesthetics, and Everyday Use

Function meets form when devices look intentional. Center screens at comfortable heights, minimize glare, and align with furniture lines. Hide power bricks behind frames or shelves, and choose finishes that echo your space. Mount voice assistants where microphones hear clearly yet cables vanish. Smart details make rooms feel curated, while everything remains easily movable when routines evolve or tastes change.

Make It Look Intentional

Balance devices with existing wall art and sightlines. Use consistent spacing around door frames and switches. A small paper template helps preview scale before committing. Choose mounts and clips in colors that blend, or embrace contrast as a deliberate accent. Every decision whispers purpose, turning a practical placement into a quiet design moment that complements daily life rather than interrupting it.

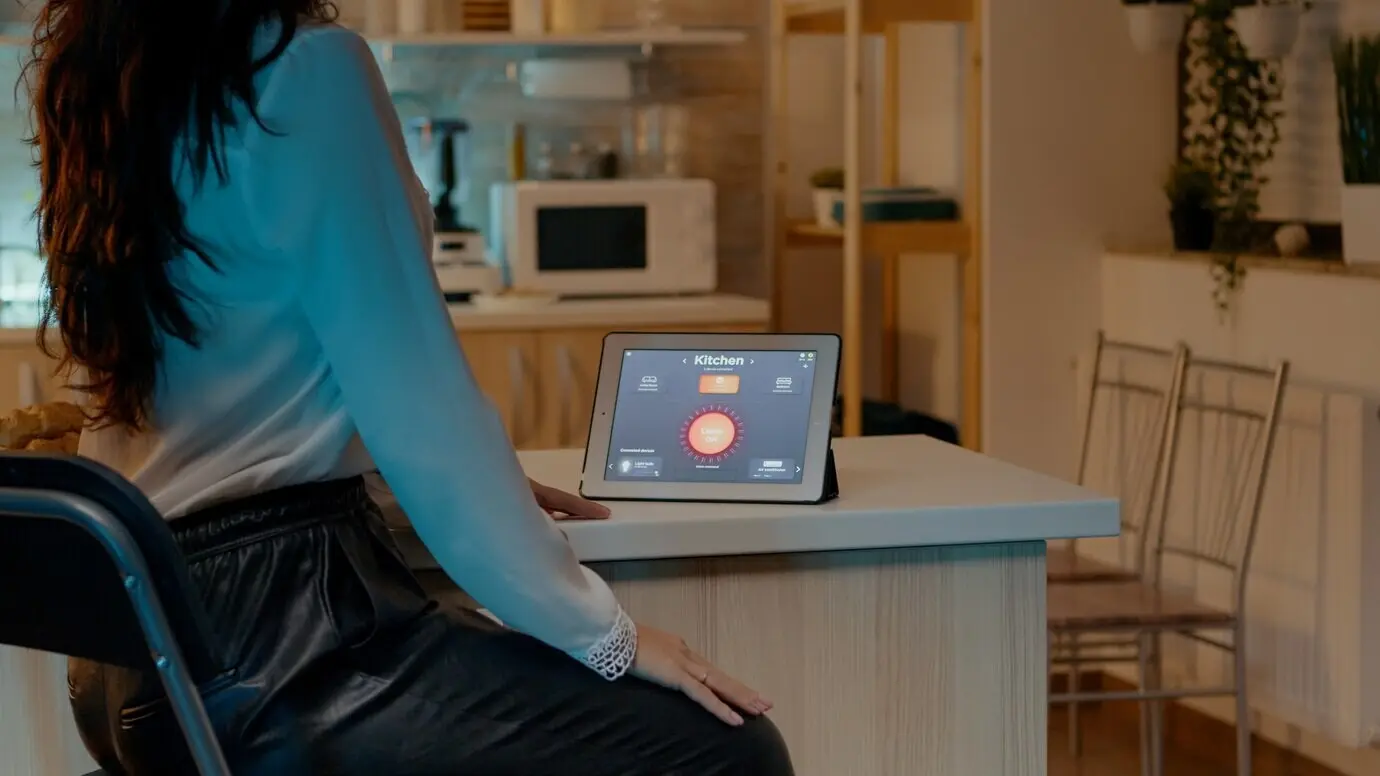
Hands-Free Joy in Kitchens and Workshops

Recipe videos, timers, and tutorials shine when screens float safely off messy counters. Suction on tile keeps displays close yet wipeable. Magnetic strips hold tools and small sensors within reach. Use washable cable sleeves near sinks and sawdust. When the cleanup sprint begins, devices pop off quickly, surfaces shine again, and everything returns precisely where your hands expect it tomorrow.

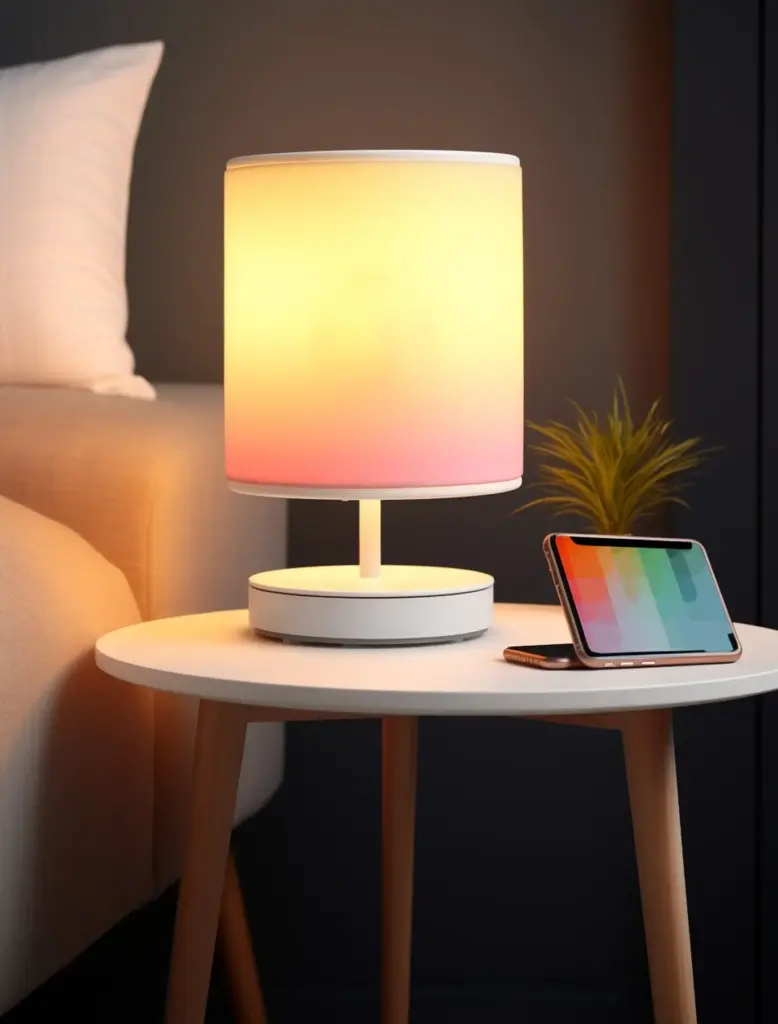
Renter-Friendly Flexibility in Small Spaces

Rearrange without fear: adhesives release cleanly, suction lifts off, and magnets reposition in seconds. Mount sensors near doors, tuck tablets by beds, and park smart speakers on backsplash tiles. When leases end, restore walls in minutes. Share your layout experiments, because the clever trick that solves your hallway might spark someone else’s brilliant office nook or serene, uncluttered bedroom.

Troubleshooting, Edge Cases, and Community Tips

Even well-planned mounts can wobble or fail under unusual conditions. Diagnose whether the surface, preparation, weight, or environment is to blame, then adjust methodically. Keep spares of strips and plates, and maintain a small cleaning kit. Most issues resolve with a fresh start and a calmer pace. Share your discoveries to help others avoid the same invisible pitfalls.

When Things Fall: Diagnosing Failure

Look for dust halos, oily fingerprints, or foam compression marks that signal poor contact. Verify that you stayed within weight limits, including cable tension. Note recent humidity spikes or heat sources. Replace any stretched tabs or scarred cups. Start over with meticulous prep, re-test with a lighter load, and scale up slowly. Treat setbacks as data, not defeats, and refine confidently.

Sensors, Compasses, and Health Devices

Strong magnets can influence phone compasses, some stylus docks, and certain medical devices. Keep magnetized mounts away from pacemakers and consult manufacturer guidance for safe distances. Avoid placing plates over NFC or charging coils. If navigation accuracy matters, test before daily use. Respect these boundaries, and magnets remain wonderfully practical without creating hidden frustrations or risk for you or loved ones.

Share Your Setups and Learn Together

Tell us what held fast through summer heat or steamy showers, and which clever cable path saved your paint. Post photos, drop dimensions, and include weight and surface details so others can replicate success. Subscribe for monthly build-alongs, reader spotlights, and quick experiments that push these methods further. Your iteration helps everyone mount smarter, safer, and more beautifully.

Zefoxenakaponalufilo
Privacy Overview

This website uses cookies so that we can provide you with the best user experience possible. Cookie information is stored in your browser and performs functions such as recognising you when you return to our website and helping our team to understand which sections of the website you find most interesting and useful.